Building an AquaPlay water ride?
-
By
Vanessa M.
How do I set up an AquaPlay water ride correctly?
With AquaPlay water rides, your child can experience an exciting water world full of action and adventure. Float boats, open locks, create currents and bring play figures to life: These are just some of the countless play options that a water ride offers. The fun starts with the construction!
In this article, we explain how you can set up an AquaPlay water ride and what you should look out for. You'll also find out how your child will benefit from playing on such a ride.
Learning through play: How water slides and the construction of water slides have a positive influence on child development
Playing with water rides effectively encourages your child on several levels. Using numerous play elements, they can observe exciting physical concepts and develop an understanding of topics such as buoyancy, flow and pressure. By devising imaginative play scenarios, they can develop their creativity and strengthen their social skills while playing together.
However, it's not just the play that encourages your child, but also the construction! In order to successfully construct the water ride, your child must follow the instructions, follow clear requirements and concentrate properly. The more components they have at their disposal, the better they have to plan the construction in advance and the more important a structured approach is. When building a water ride, your child also uses their motor skills and, above all, trains their fine motor skills.
What construction elements are there?
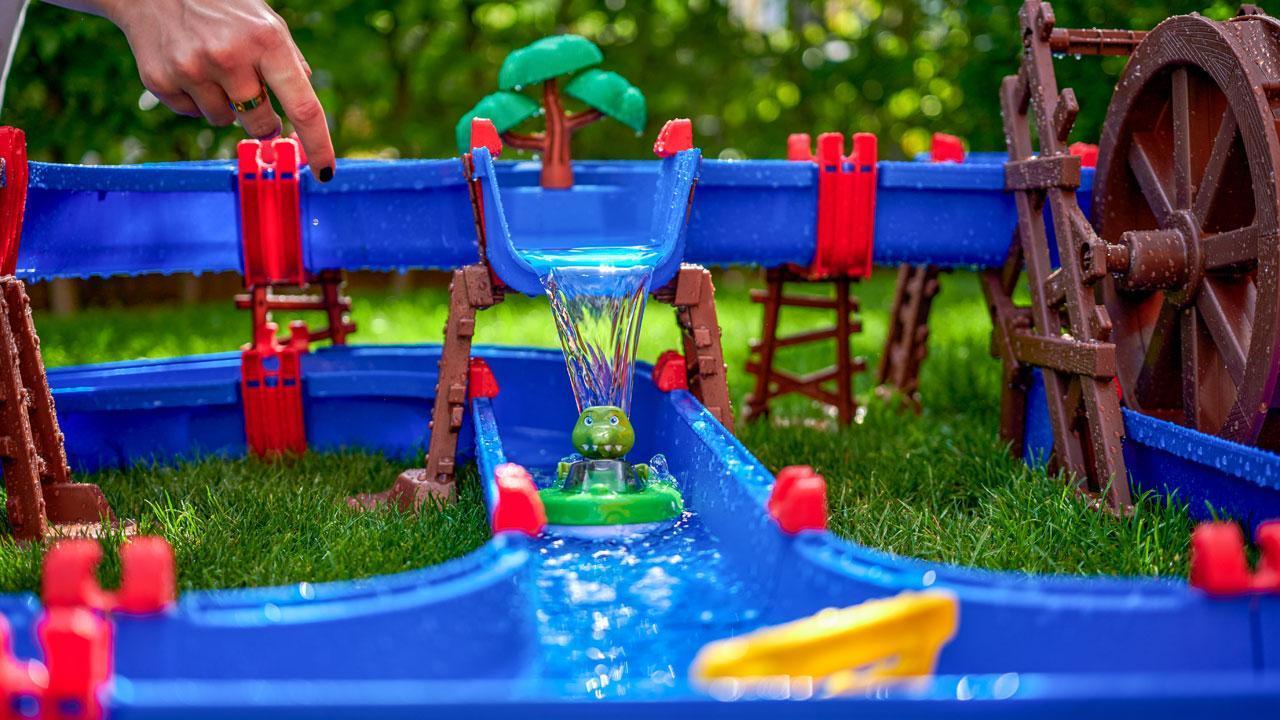
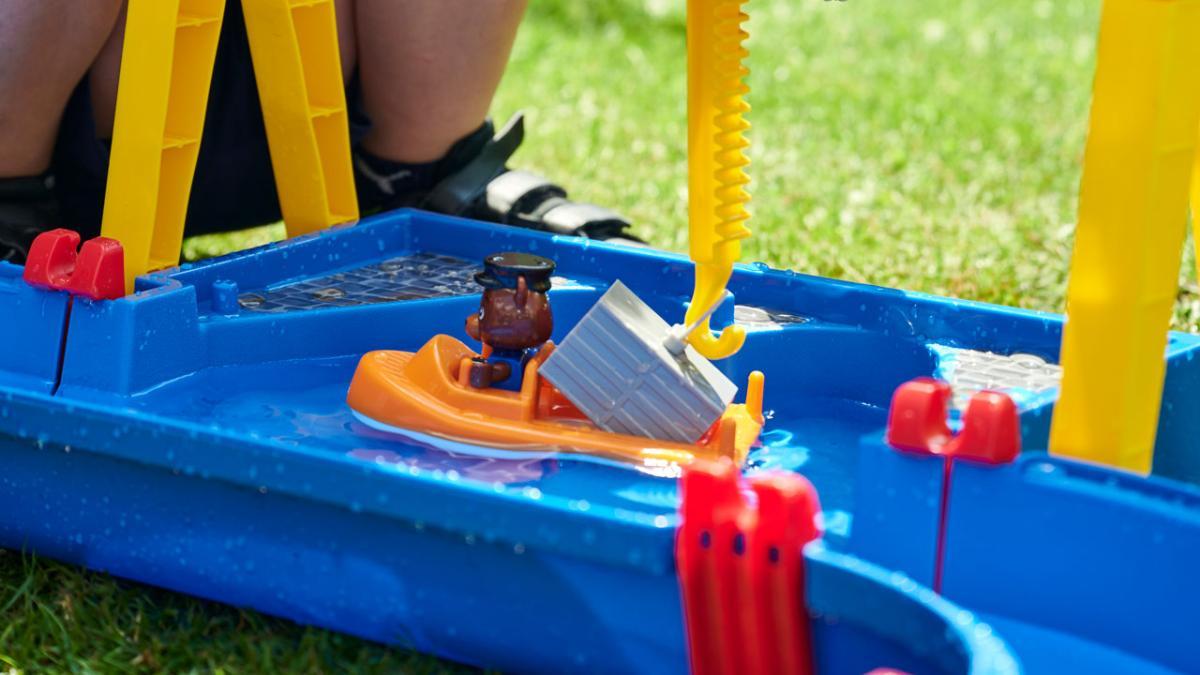
Every AquaPlay waterway is made up of a variety of elements. These include straight lines, curves and T-pieces, which are joined together by AquaPlay connections and form the waterway. The waterways also include boats, locks, bridges, hand cranks, cranes, water slides and many other play components. Our MountainLake track, for example, comes with a speedboat, two animal figures and a huge mountain.
The ContainerPort version, on the other hand, is characterized by the mobile crane for the harbour basin and the fast amphibious vehicle.
In short: the diverse components make every AquaPlay water ride a unique play world full of possibilities and surprises.
How do I choose the right water ride for my child?
Before you can set up your water ride and start playing, you must of course first decide on a model. The following aspects and questions can be helpful:
- 🧮Age & development: How challenging can and should the water ride be so that it is ideally suited to your child's current abilities?
- ⬆️Size: How much storage space do you have to store the water ride and how much space is available in the place (e.g. balcony) where you want to set up the water ride?
- 🎲Number of players: How many players should be able to play with the ride at the same time?
- 🧠Interests: Which ride offers content that picks up on your child's current interests?
- 💸Price: How much money are you able and willing to spend on a water ride?
Ready to build your water ride? A step-by-step guide
To show you how to set up a water ride, we describe the assembly step by step using the AquaPlay StarterSet ride as an example:
1. Preparation
First get all the parts ready and take your time to look at the instructions provided. Either stick strictly to the instructions or get creative by trying out your own assembly variants.
2. Inserting the seals into the connectors
Each AquaPlay rubber seal is provided with a foil. Remove the foil to reveal the adhesive surface. Insert two AquaPlay seals into a connecting piece with the adhesive surface facing downwards. Make absolutely sure that the seal lies evenly and completely on the AquaPlay connection.
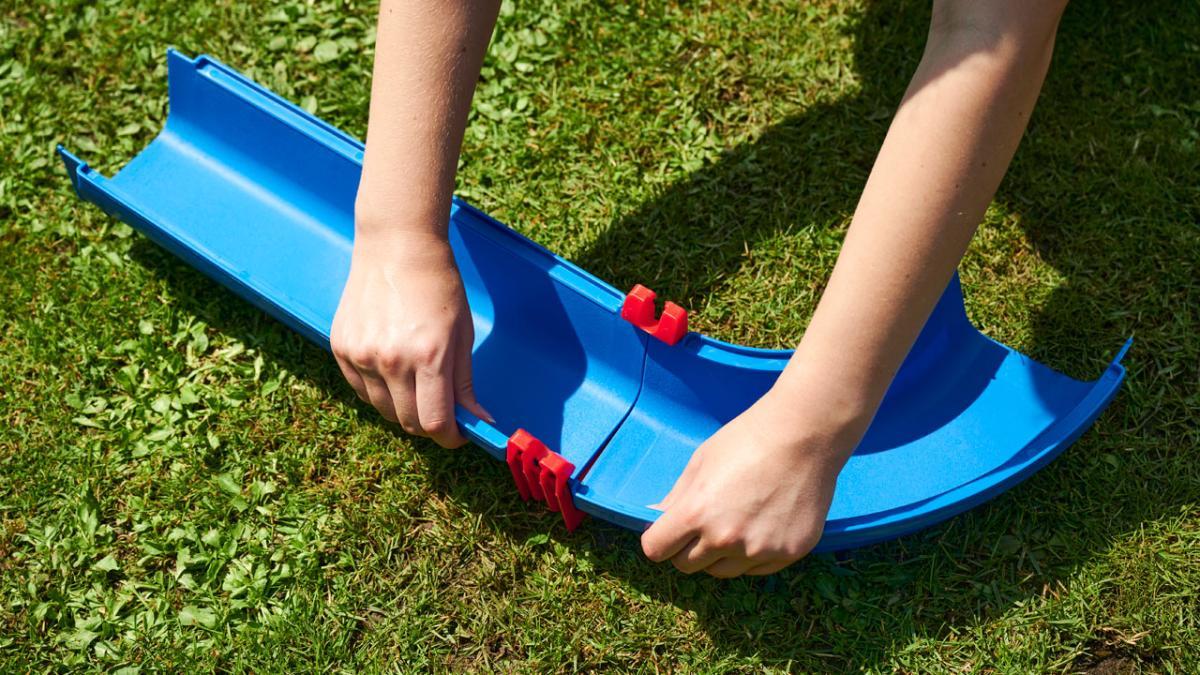
3. Joining the sections together
Connect the individual parts of the waterway with the connecting pieces. This is very easy to do by pushing the connection onto the track sections from below. A "click" tells you that everything is tight.
4. Inserting the lock and crank
The connecting pieces are suitable for inserting the water wheel with hand crank, while you can insert the sluice into the track at the intended point via a recess.
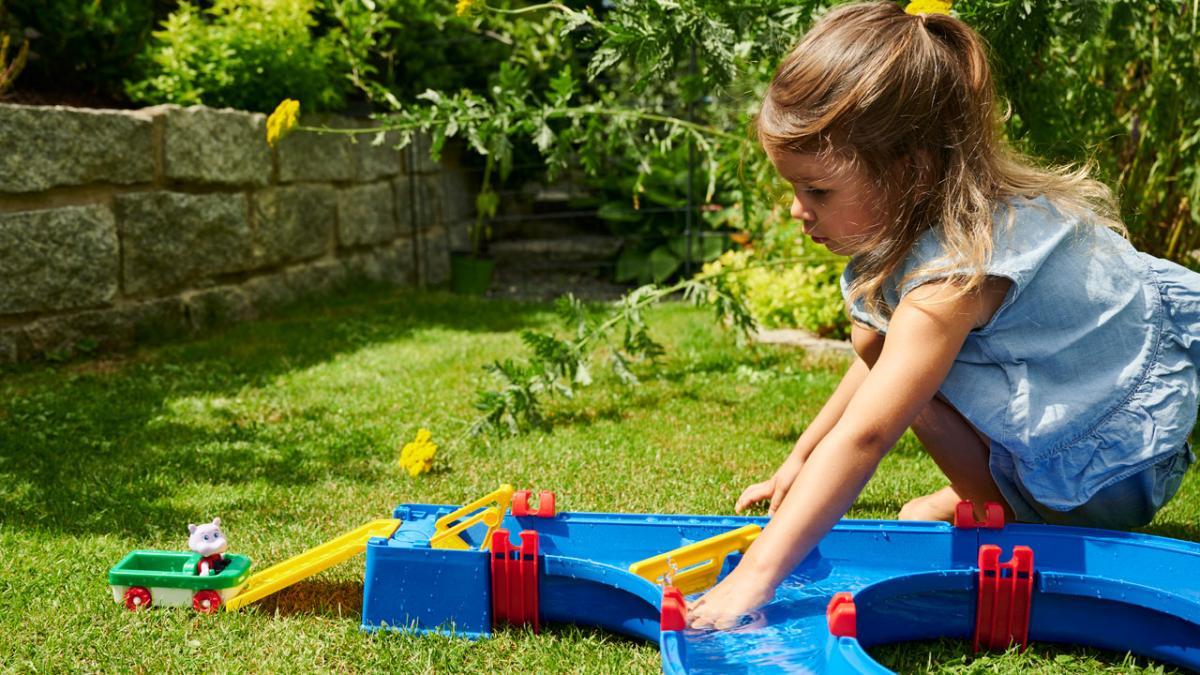
5. Fill and play
The water ride is ready! Fill the track about three to four centimetres high with water and start the water fun with "Wilma", the cute hippo figure.
Get creative with our Aquaplay water ride extensions
If you want to design your water ride even more freely, want more varied play options and want to get the most out of your ride, you should take a look at the AquaPlay extension.
Because: AquaPlay water rides can be combined with each other and flexibly extended.
With our expansion elements and water ride accessories, you can bring new figures into play, extend the track or discover exciting play elements - such as cranes and boats - for yourself.
The advantage: The play experience becomes even more varied and the water ride can evolve with your child and their interests. As the collection of accessories grows, there are more and more options when building a water ride, so that your child's creativity is encouraged more and more. In addition, they have to make an increasingly precise plan for the construction, which promotes the ability to think ahead and solve problems. If you would like to delve deeper into the topic of AquaPlay expansion, you can do so with our guide "Reasons for a water ride expansion".
Conclusion: now it's your turn! Build your own AquaPlay water ride!
Given the colorful mix of game elements, you might think it would be complicated to build an AquaPlay water ride. In fact, the opposite is the case: thanks to the basic structure, which always follows the same simple principle, you'll get the hang of it in no time. Setting up the water ride is far more than just a "necessary evil" before playing. It is part of the play experience and has valuable developmental effects for your child.
FAQ: We answer frequently asked questions about water rides and water ride set-up
Where is the best place to set up the water ride?
Set up the water ride on a flat surface with a water connection nearby. If you decide on an outdoor location, you should make sure that the ride is not in direct sunlight.
🔧What tools do I need to set it up?
You need almost no tools to set up the water ride. In some cases, a cutter knife is an advantage.
🧽How do I keep the water ride clean?
AquaPlay water rides are extremely easy to clean. All you need to do is regularly fill the track with fresh water, rinse it out and dry it. If you are generally interested in how to clean toys, take a look at our guide "Cleaning toys quickly and easily".
🧒🏼Können Children can set up and use the water ride on their own? 🧒🏽
This depends on the age and developmental stage of the children. It often makes sense for you as a parent to accompany and supervise the construction of the AquaPlay. You should also supervise young children while they play, while older children can play with the water ride on their own.
💧What can I do if the water ride leaks or problems occur?
If you have any problems with the water rides, the water ride accessories and your AquaPlay extension, you can contact our service team at any time.