DIY boat making with children
-
By
Vanessa M.
DIY boats - crafting boats with children
Crafting and spending time in the fresh air: Two fun and meaningful activities for children. Why not combine the two? Children can get really creative when making a boat before the boat trip starts on the nearby river, in the paddling pool or on the AquaPlay water ride.
We provide you with instructions on how to make a boat for children and give you practical tips to make your boat trip a complete success.
What is the educational value of crafting together?
Crafting with children is an extremely valuable activity that most kids really enjoy. In addition, the added educational value makes crafting together an extremely meaningful activity that supports your child's development. This is another reason why crafting a ship is one of the most popular craft ideas for a child's birthday party, family time or an afternoon with friends of the same age.
While crafting, your child practises the safe use of scissors, glue, pens and other craft utensils. It also trains their motor skills. After all, they need plenty of dexterity to be able to fold precisely, paint neatly or cut in a controlled manner. Creativity is not neglected either, as your child can decorate their boat to their heart's content and use their imagination.
As a quiet activity that requires concentration, making a boat often has a calming effect on children and promotes relaxation. At the same time, your child can playfully get to grips with the different materials: What noise do the scissors make when cutting? What does foam rubber feel like? And how much force do you need to fold cardboard? All these impressions appeal to the senses and train the ability to perceive.
Is your child a real crafting pro? Then you can help them develop their talents and explore their potential by working together creatively. Kids who are really good at crafting will gain self-confidence and experience how good it feels to be proud of themselves. We think so: If making a boat makes children more self-confident and self-assured, it has more than fulfilled its purpose.
When making a boat with older children, you can of course also involve them in the planning of the craft project. Which craft instructions for the boat sound helpful? What materials do you need? How do you proceed and where can you launch the boat later? These are questions that children from the age of six can certainly deal with. They learn to plan and can immediately see whether their plan is working out as they imagined.
After making the ship comes the trip on the water and this also offers plenty of learning opportunities. For example, your child can get to grips with different physical concepts and material properties. They can get a "live" impression of what buoyancy is, observe different currents, assess the stability and watertightness of the material and understand what role water resistance plays.
Instructions for making boats: What types of boats can you make?
If you want to get children really excited about making boats, you need good instructions. You also need to think about what kind of DIY boat you want to make. Should it be a paper boat, a bottle boat or perhaps a cork boat? Bear in mind that each type of boat has its strengths and weaknesses.
We would like to suggest three simple yet ingenious instructions for making a boat, with which not much can go wrong. In addition to the crafting process, we will of course also take a look at the advantages and disadvantages of each DIY boat.
Making paper boats 📄⛵
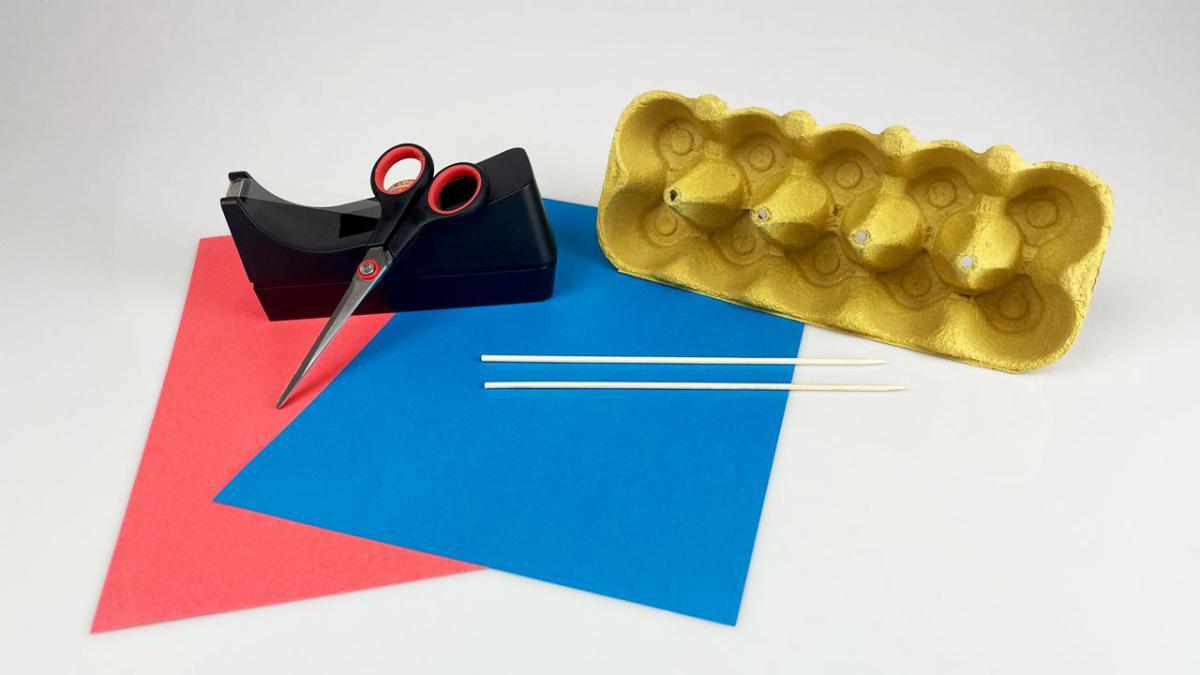
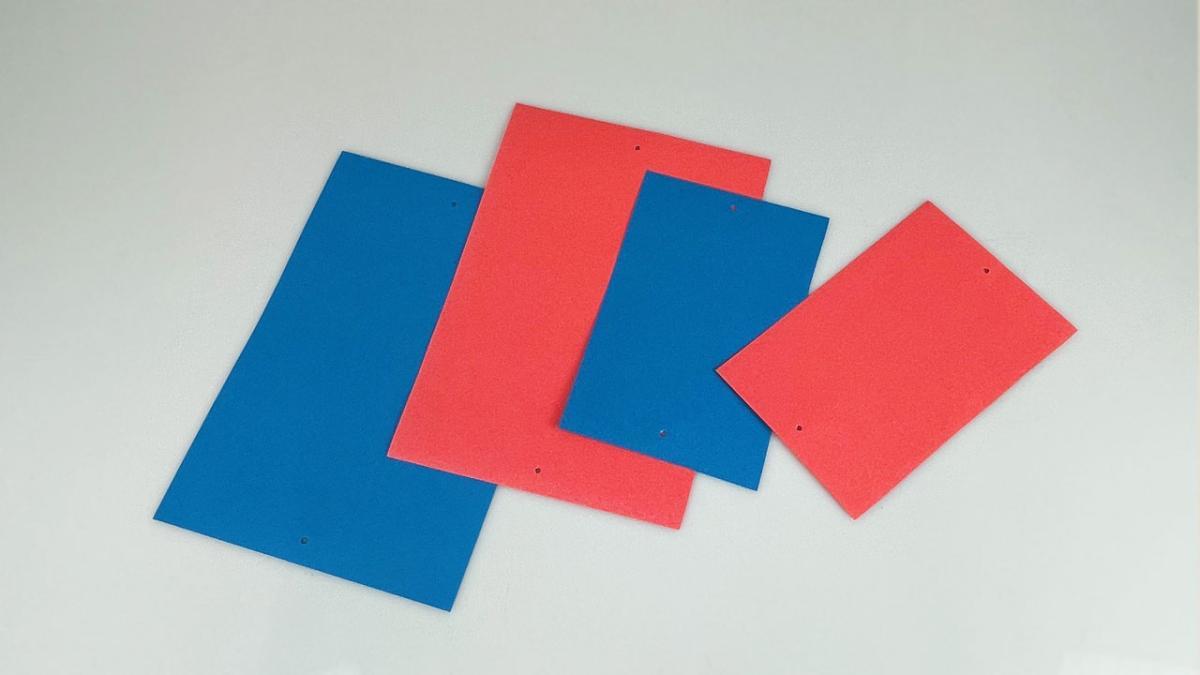
Almost all of us have probably built the classic paper boat at least once in our childhood. So paper boats are nothing new, but that doesn't mean they're outdated. We'll show you how you can build a paper boat out of egg carton simply and with little effort:
| Craft materials required ✂️ | Crafting instructions 📝 |
|
|
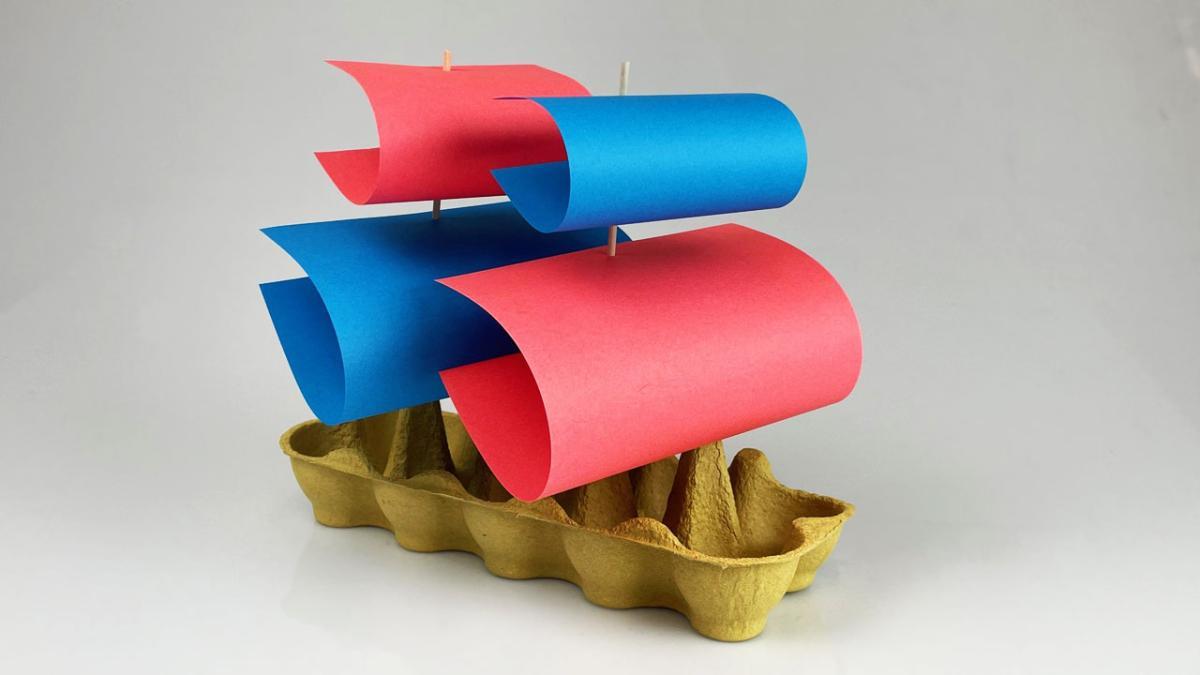
| Advantages ✅ These points speak in favor of using a paper boat when making a boat with children: | Disadvantages ❌ The other side of the coin is that paper boat crafting has these disadvantages: |
|
|
Making boats from natural materials ⛵🌱
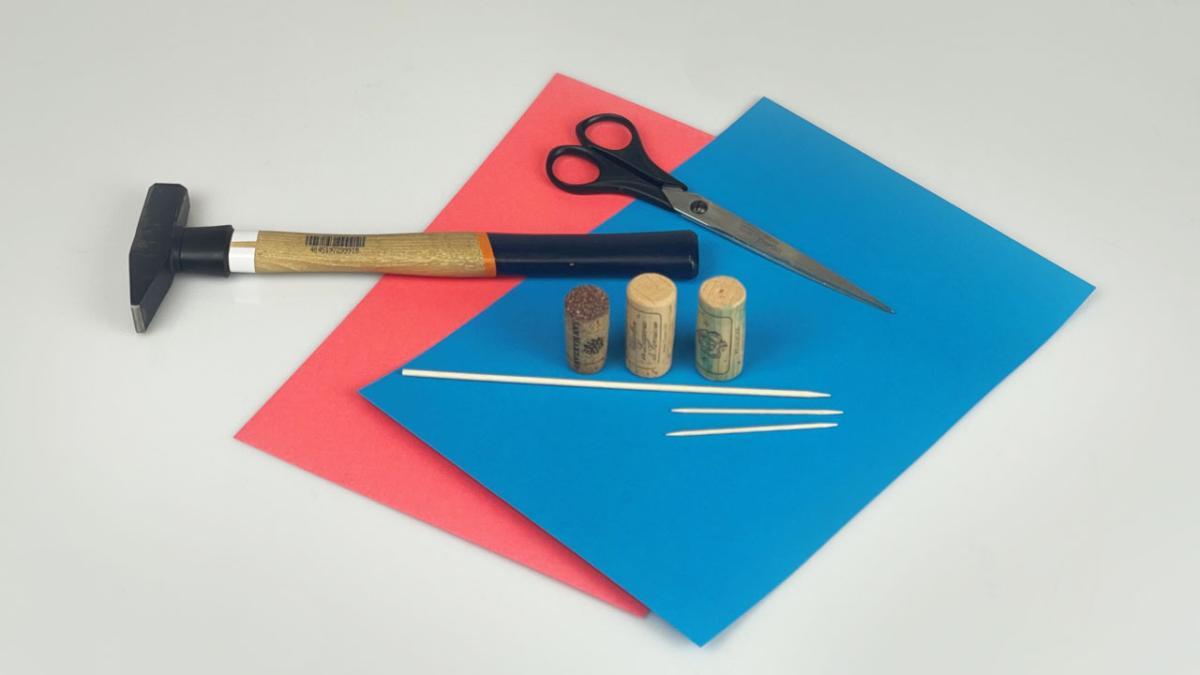
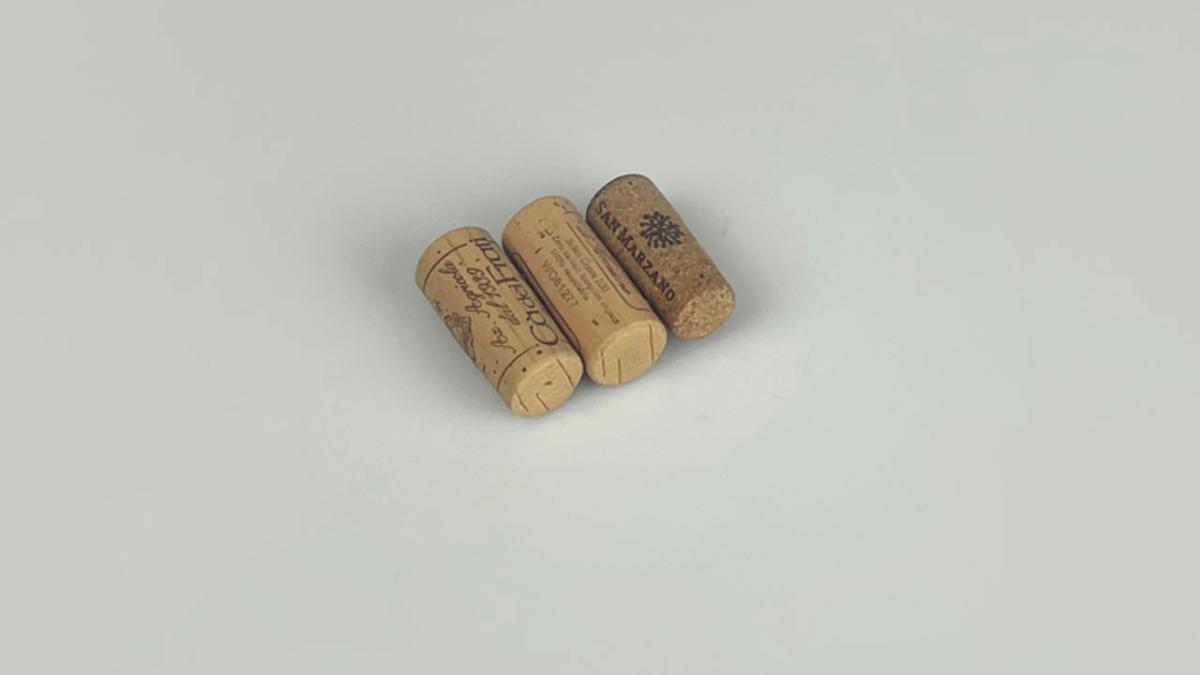
Would you prefer to make your boat from a different material? No problem, we have two more boat crafting instructions for children up our sleeve. Next, we'll be talking about boats made from natural materials. If you've never tried it before, it's often hard to imagine that really impressive DIY boats can be conjured up from sticks, bark, corks and other "natural materials". We have decided to introduce you to the cork boat - try it out now!
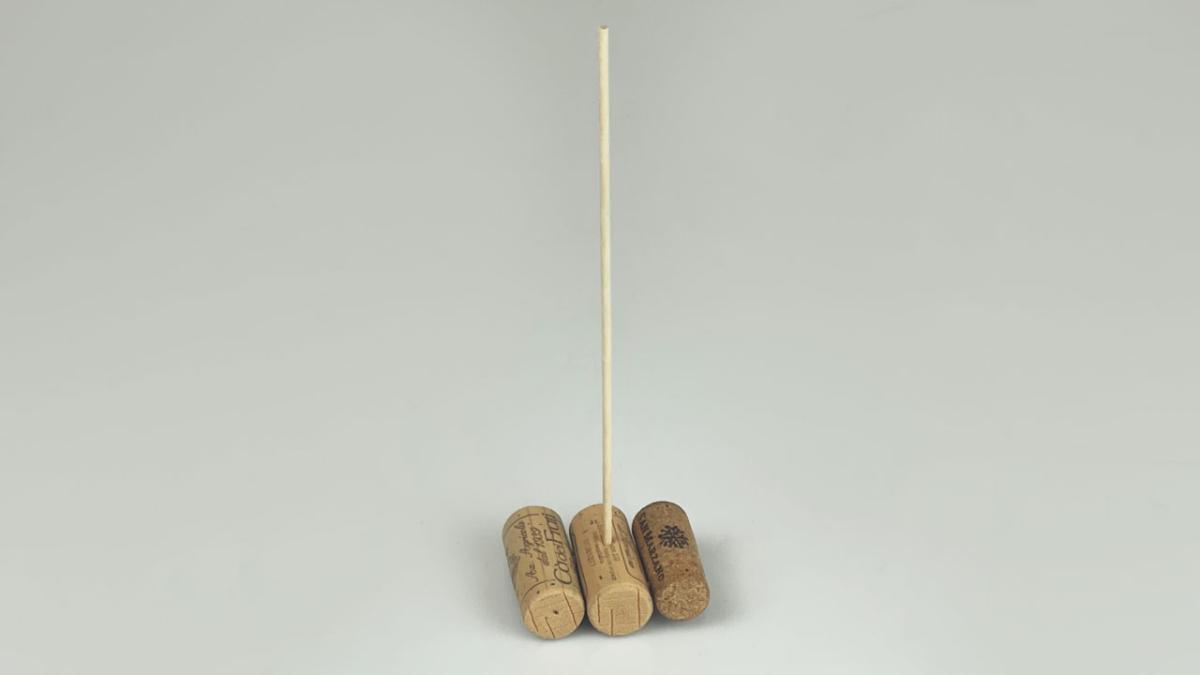
| Craft materials required ✂️ | Crafting instructions 📝 |
|
|

| Advantages ✅ These plus points make the cork ship a guarantee that children's eyes will light up when making a boat: | Disadvantages ❌ These are the weaknesses of the cork boat: |
|
|
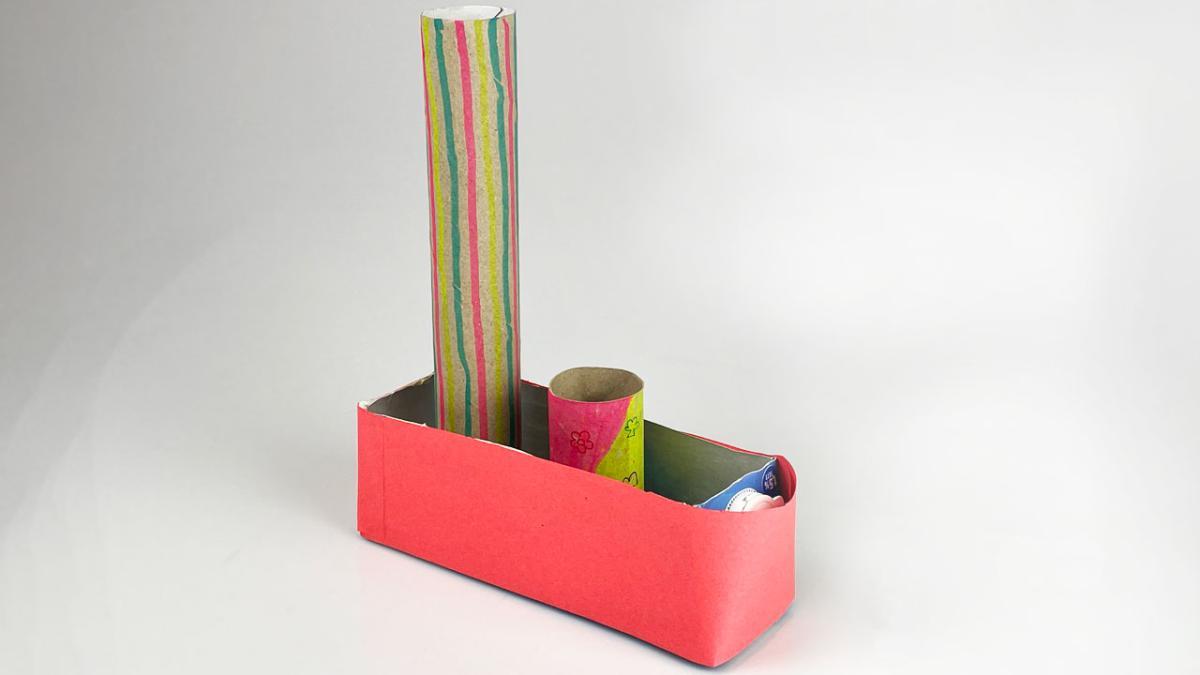
Making plastic and Tetra Pak boats 🧃
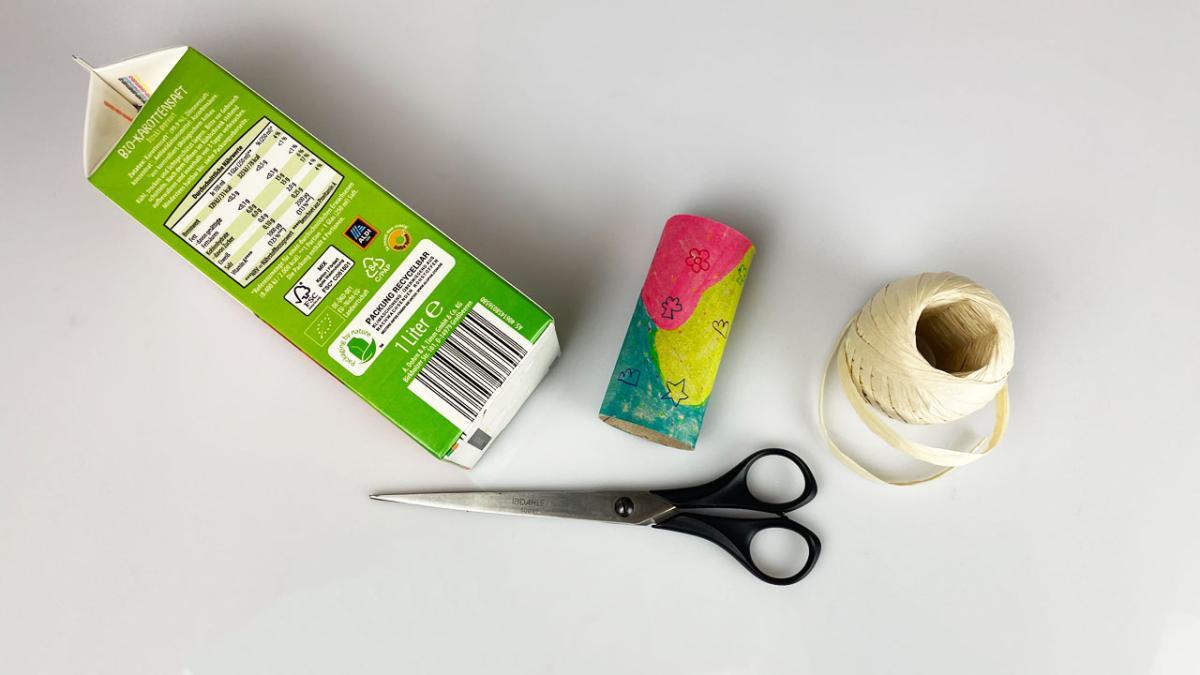
When making boats with children, you can use tin cans, detergent cartons, plastic bottles, Tetra Paks or other plastic containers as well as paper and natural materials. Then you can create a boat from materials that would otherwise have ended up in the bin - isn't that cool? We explain how you can build a stylish boat from milk cartons or similar Tetra Paks 🡪 Tetra Paks:
| Craft materials required ✂️ | Craft instructions 📝 |
|
|

| Advantages ✅ Still not sure whether you should opt for the Tetra Pak boat when making a boat with children? These advantages might make your decision easier: | Disadvantages ❌ Of course, we don't want to ignore the disadvantages of this type of boat: |
|
|
The boat trip from start to finish: tips to make sure everything goes well when making a boat!
The children have mastered making a boat and now it's time to get out on the water? Our tips will set the course for an all-round successful experience with the homemade boat.
Before the first trip with the homemade boat 🔧⛵
It's a bitter disappointment when proud children have to watch their boat sink within seconds of making it. Fortunately, you can prevent this! Check very carefully in a safe environment - for example in the sink - whether the boat floats at all, is watertight, remains stable on the water and does not lose any parts. Also make sure that any paint applied is completely dry. If this quick check leads to a positive result, you can head to the river or get the AquaPlay water ride ready to go.
During the boat trip ⛵🌊
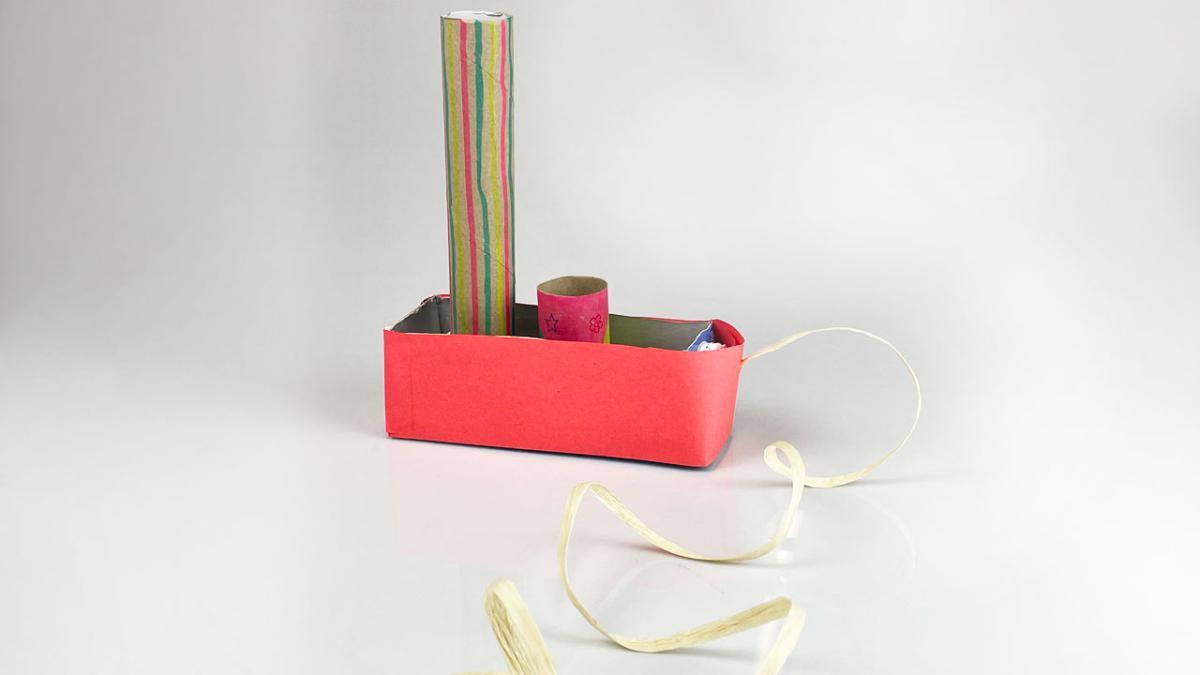
If you are floating the DIY boat on a river or in a lake, it makes sense to attach a string to it first. In the instructions for the Tetra Pak boat, we have described an example of how such a cord can be attached. In general, a cord can be attached to any type of boat to secure it. The advantage: as long as you hold on to the line, the boat cannot get lost. If you decide against public waters and opt for the fun of boating with the AquaPlay water rides, you don't need a cord at all - your boat is in good hands on the ride!
Also make sure that your homemade boat is not too heavy. Most DIY boats can easily carry a few leaves, small branches or one or two AquaPlay play figures. However, more cargo can cause the boat to sink. Under certain circumstances, however, it may not even take a heavy load for a boat to capsize. Strong currents or strong winds can cause the boat to tip over, which is why you should postpone the boat trip if the weather or water conditions are unfavorable.
Out of respect for the environment, you should behave carefully when playing with the boat. Make sure that you do not disturb or even injure any plants or animals that are also in the water. And one last, very important tip: always keep a close eye on your child! Larger bodies of water can pose a serious danger to younger children, which is why you should be vigilant and never leave your child to play unsupervised.
Checklist for after the trip 🗒️✔️
Remember that an inspection is important after every trip: check whether the boat has suffered any damage while swimming, so that you can repair it and the boat is ready for the next trip. Also, let the boat dry well in the air or dry it carefully with a towel and store it in a place protected from the weather.
If you like, you can take some time at the end to review the boat building and sailing together with the young craftspeople . What aspect of boat building particularly fascinated the children? What worked well and what was still difficult? Are there things you would do differently next time?
Conclusion: Build a boat for your AquaPlay water rides: for long-lasting fun with your own boat creations
Making a boat is a very special activity for children that has both relaxing and creative as well as exciting and action-packed facets - there's something for everyone! When crafting together with children, you create valuable "quality time" that is good for the whole family. So that boredom doesn't set in on the second or third "boat crafting day", you can create different types of boats and incorporate your own ideas. Regardless of the type of boat, you should always think about the environment: a boat trip with AquaPlay water rides is automatically safe and environmentally friendly. However, when boating in natural waters, you must make sure that no unnatural boat parts are left behind in nature.
Is your child passionate about floating homemade boats? Then an AquaPlay track is definitely worth considering! Find out more about our wide range of themed worlds on our homepage and get to know our large selection of water toys.
⛵🌊💙